My Winter Recess break will be comprised of reading, sleeping, eating, and this project. This is a repost from Blawnde's Blawg here. Enjoy!

As soon as we decided on a look for the nursery, I was set on trying to find a dresser/changing table to fit the room. I started scouring Craigslist in hopes of finding just what I was looking for. And I sure did! I bought this beauty for $30 and couldn’t wait to get started on making it over.
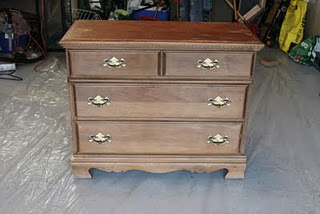
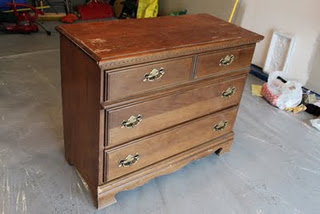

My plan was to paint it, do something different with the front, put new hardware on it, and put fabric liners in each drawer.
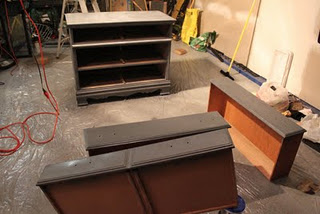
We started off by sanding the entire dresser down. We used 80-100 grit paper.
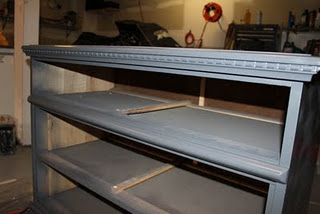
Then once we wiped it clean, we primed it. I decided to go the easy route and use Kilz Spray Primer. We put a few thin coats of the primer on and let it sit for a day.
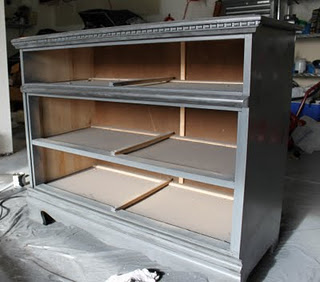
I also decided to go the easy route for the paint and used spray paint rather than brushing paint on. I used Rustoleum Painters Touch Ultra Cover spray paint. I actually let JJ do this part because he’s the master at spray painting. We did a few coats, then used a fine grit sandpaper and did one more coat. I was all ready to come home after work one day and start putting the glaze on, but when I got there, JJ had just sanded the darn thing again! I guess he thought I wanted one more coat of paint on it. Oh well, at least it’s nice and smooth. Love you, honey! We did go ahead and paint it and I was still able to put the glaze on that night.
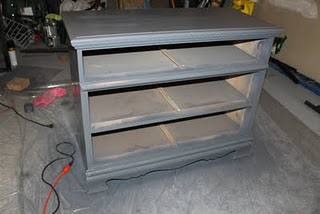
I had never done this before, and this type of furniture isn’t really my style, but I just had a perfect picture in my head of what I was going for – and I think I got it. I used this tutorial found here on All Things Thrifty for the glaze. I bought Behr Faux Finish Glaze and Rustoleum’s Painters Touch Black Paint. I mixed the two together and applied it all over with a foam brush. It seemed to all wipe off the first few times I did it, so I started to let it sit a little longer before wiping off and that worked better for me. It was quite the task trying to get around all those tiny squares.
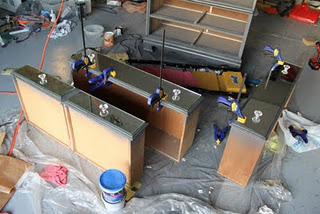
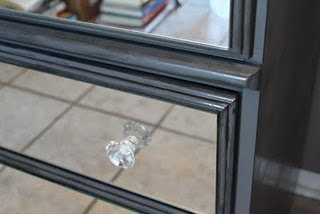
The next step was the mirror. I also searched on Craigslist for the mirror and found the perfect size for FREE! It was just a frameless bathroom mirror someone was getting rid of. At first we thought we’d attempt to cut it ourselves, but I decided against that when I found a local glass company that would do it cheap. I knew I would need at least 8 cuts, if not more, plus I wanted them to drill the holes for the new hardware. Some of the places I called wanted up to $15 PER CUT! But I ended up going to a place that only charged $20 for everything. What a steal!
After the glaze was all dry, JJ helped me glue the mirror in place and attach the new hardware. We let this sit for a few days to make sure the glue had time to set.

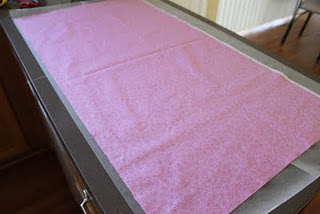
The last step in this project was the fabric drawer liners. I found a tutorial here on Infarrantly Creative. I bought my fabric and started that project last night. I couldn’t believe how much Mod Podge I went through – almost the whole container of Fabric and most of the container of the regular. It was a little difficult getting the liners in place, especially with no bubbles, but I think it still turned out cute.

And here is our final product!
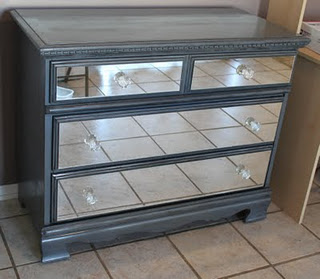
A rundown of what all we used and how much we spent:
Dresser - $30
Sandpaper – free (already had it)
Primer - $4.00
Spray Paint - $8.00
Behr Faux Finish Glaze – $14.00
Rustoleum’s Painters Touch Black Paint– $4.00
Brushes – free (already had them)
Mirror – free (but $20 to get cut)
Fabric - $9.00
Fabric Mod Podge - $7.00
Regular Mod Podge – free (already had it)
Hardware - $24 (wish I could have found them on sale at Hobby Lobby but I wasn’t so lucky)
Total Cost - $120.00